

Indoor Cycling 101 Beginners Setup
Everything you need to know about setting up your indoor trainer
Indoor cycling has never been more popular than in 2022. The global pandemic forced the entire world indoors, with few options for escape or exercise. And that’s why we saw the biggest boom in the history of indoor cycling, with millions of new users on apps like TrainerDay, Zwift and Peloton.
The prospect of indoor cycling can be overwhelming, not just for the physical exertion, but also because of the high cost and complicated technology that you need to buy, calibrate, and set up on your own. But no need to fear — in this comprehensive guide and blogs linked below, we’re going to walk you through everything you need to know about indoor cycling, from setting up your smart trainer, to pedaling your first few kilometers on Zwift.
Building an Indoor Training Space — Before buying a smart trainer or anything else, you first need to find space to train. For some, this task is quite simple. But for others who may live in a crammed apartment or shared living space, it can seem impossible to find the extra room.
Look for unused nooks and crannies around your living space, and remember that your bike and indoor trainer won’t be very wide. You’ll need about 7 feet by 3.5 feet of floor space for the bike and trainer, and it’s best to setup somewhere permanent — i.e. you don’t have to take down your bike and trainer after each ride.
Once you’ve found the space, it’s time to go shopping for an indoor trainer. Below are a few guides to help you decide which indoor trainer (smart or non-smart trainer, smart bike, spin bike, or rollers) is best for you. There is even an informative blog above Bluetooth and ANT+, which are the wireless protocols that allow you to connect your trainer to an external advice and run an app such as Zwift or TrainerDay. If you’re not sure if your devices are compatible, start there. Otherwise, happy trainer shopping!
Indoor Cycling Trainers — Smart vs Non-Smart [LINK]
Other Types of Indoor Cycling Trainers, Rollers, and Bikes [LINK]
How to Connect Your Trainer to Indoor Cycling Apps: Bluetooth vs ANT+ [LINK]
How to Start Riding — If you are just starting out and are in your first month or two of training, all you need to do is ride.
There are different kinds of fun for different types of people; you might enjoy riding hard every day. This might work for some, pay close attention to any warning signs so you don’t derail your training by doing too much too soon.
What ever you do try to enjoy the ride, keep going! Structure in your training can come later, if you start to feel the fatigue and the need for a more structured training plan.
If you’re just starting out in indoor cycling, here is my recommendation: ride 3 or 4 days per week, with a simple goal in mind. Aim for 3 hours of riding per week, or 50km of indoor riding, for example.
You need to learn what your body can handle. Zwift is especially addictive for going hard all the time, if you find yourself riding more than 4 days a week you need to take extra precaution and might want to alternate days on something like TrainerDay free version watching Netflix or an audio book just to help that everyday is not a hard day. Breathing harder than walking is a sign you are not taking it easy.
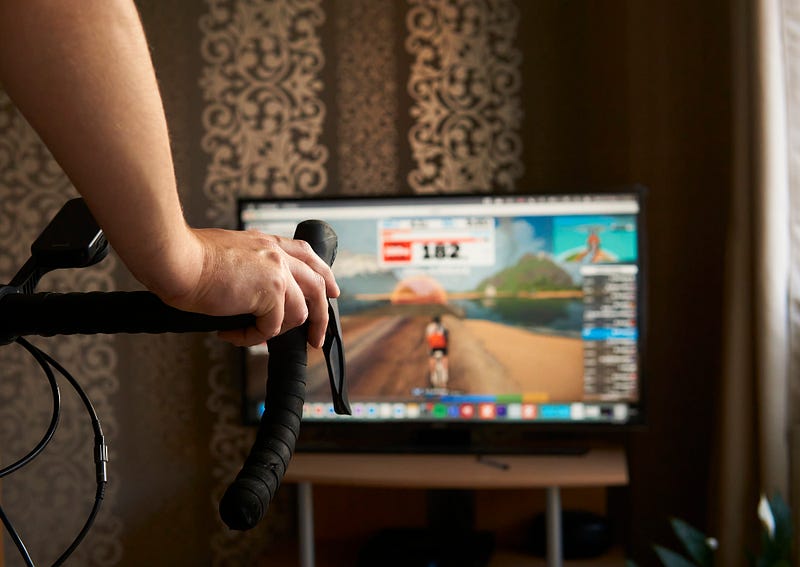
Riding alone on an indoor trainer can be both boring and training. But in 2022, there isn’t a lack of options for indoor cycling apps, and you’ve come to the right place. Below are a few of the most popular indoor training apps, including the best for racing, training, exploring, and riding with real-life cycling footage.
There is also a blog about the three different types of indoor cycling. Remember, there are so many more options that a structured workout app, or a high-intensity virtual racing app. Many of the apps are even free to try.
A Quick Guide to Indoor Cycling Apps — Zwift, TrainerDay, FulGaz, and More [LINK]
Three Types of Indoor Cycling — Virtual Outdoor, Power Intervals, & Spin Classes [LINK]
If you’re having trouble deciding between the apps, try out a few of them. Many provide a free trial period which will give you plenty of time to learn the app, the workouts, and the overall feel, without the added pressure of committing to it long-term. If you’ve never done structured intervals on the indoor trainer, consider this:
To Work Out, or Not to Work Out — Because indoor training is stationary, there are fewer factors at play than outdoor cycling. There is no actual wind, speed, or distance; instead, it is all virtual. Indoor cycling apps estimate your speed and distance using power, which is measured in watts.
Power meters can be attached to your bike in either the cranks, bottom bracket, pedals, or rear hub; or they can even be inside your indoor trainer. Power is unequivocally the most important and popular metric for cycling performance, used by Tour de France pros and local Joe’s. You can train to get faster using a power meter and a structured training plan, which is what we do here at TrainerDay.
Indoor training is a unique opportunity to get faster through structured interval training, distraction-free and without the constraints of wind, hills, traffic lights, or weather. You can jump on your indoor trainer any time of day and ride for 20 minutes or three hours — the choice is yours.
Structured interval training is the most effective and efficient way to improve your overall fitness and cycling power output, and there is no better place for it than the indoor trainer. Try one of the workouts from TrainerDay and see how it goes. Remember that this is not a test, and it is okay to fail. It is all part of the learning process, and I’m sure that Mathieu van der Poel has failed more than a few interval sessions throughout his life. You will learn, get better, and come back stronger, ready to crush the next workout and keep progressing towards your cycling goals.
Once your trainer is ready and your app is ready to go, you’ll want a few accessories to complete your indoor cycling set-up. In the article below, I give you some of my favorite indoor cycling accessories, including a few that I couldn’t live without.
Written by Zach Nehr
Related Articles
Indoor Cycling What Is Bluetooth And Ant
Indoor Cycling — What is Bluetooth and ANT+ Indoor cycling can quickly overwhelm even the most tech-savvy minds. There a...
Guide to Smart Trainer Setup
Setting up your smart trainer with TrainerDay doesn't have to be overwhelming, but I've seen a few common points where u...
How to Train in ERG Mode
Learn how to effectively use ERG mode in TrainerDay to nail your power targets and get the most out of your indoor train...
Ready to Optimize Your Training?
Join thousands of cyclists using TrainerDay to reach their performance goals.
Start Training with TrainerDay